



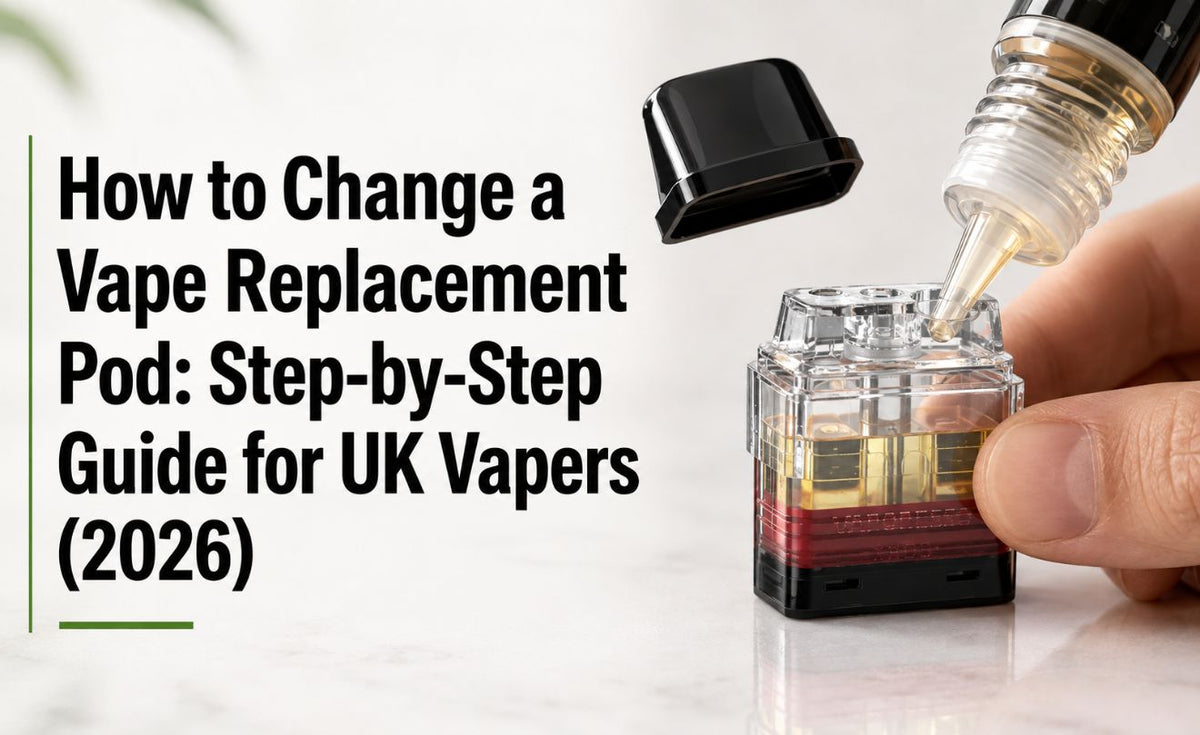
How to Change a Vape Replacement Pod: Step-by-Step Guide for UK Vapers (2026)
Changing a vape replacement pod is one of the easiest ways to keep your vape performing at its best. Whether you've noticed burnt flavour, reduced vapour, or your pod has simply reached the end of its life, replacing it at the right time helps maintain flavour, nicotine satisfaction and overall device performance.
For many people who switched from disposable vapes after the UK ban, pod kits have become the preferred choice because they're more cost-effective and generate less waste. The only maintenance required is replacing your replacement vape pod regularly. If you've never changed a pod before, don't worry — this guide explains exactly how.
Quick Guide: Changing Your Vape Pod
Pull off the old pod, fill or unwrap the new one, then prime it by letting it stand upright for 5–10 minutes before you vape. Click the new pod into place and start with a few gentle puffs. Priming is the step most beginners miss — it's what prevents that burnt first hit.
What Is a Vape Replacement Pod?
A vape replacement pod is the removable cartridge that fits into your pod vape device. It contains your e-liquid and the coil responsible for turning the liquid into vapour. Depending on your device, you'll use either:
- Refillable replacement pods: fill them yourself with e-liquid.
- Prefilled replacement pods: arrive already filled and are replaced once empty.
Most modern pod systems use magnetic pods, making replacement quick and mess-free.
When Should You Change Your Vape Pod?
You don't need to wait until your pod completely stops working. Replace your vape pod if you notice:
- Burnt or unpleasant taste
- Flavour becoming dull
- Less vapour production
- Gurgling or leaking
- Dark residue inside the pod
- Your pod has been used for 1 to 3 weeks (depending on usage)
Most replacement pods last between 5 to 10 refills or 1 to 3 weeks, although this varies depending on your vaping habits and the e-liquid you use.
How to Change a Vape Replacement Pod (Step-by-Step)
Step 1: Remove the Old Pod
Hold your vape securely and gently pull the old pod away from the battery. Most pod kits use magnets, so no force is required.
Step 2: Dispose of the Old Pod Responsibly
Never reuse a burnt pod. Dispose of used pods according to your local recycling guidance where possible.
Step 3: Prepare the New Replacement Pod
If you're using a refillable pod, remove all protective seals, fill the pod with your preferred e-liquid, and close the filling port securely. If you're using a prefilled pod, simply remove the packaging and protective stickers.
Step 4: Prime the Pod
This is the step many beginners miss. After filling a refillable pod, leave it standing upright for 5 to 10 minutes. This allows the cotton inside the coil to absorb the e-liquid properly and helps prevent burnt hits.
Step 5: Insert the New Pod
Push the replacement pod into the device until it clicks or locks into place magnetically. Ensure it sits flat and securely.
Step 6: Start Vaping
Take a few gentle puffs. Avoid long or repeated draws immediately, as this can shorten the coil's lifespan.
Common Mistakes to Avoid When Changing Vape Pods
Many pod problems are caused by incorrect installation rather than faulty hardware. Avoid these mistakes:
- Not priming a new pod
- Using the wrong replacement pod for your device
- Letting the pod run completely dry
- Chain vaping immediately after installing a new pod
- Using unsuitable e-liquid for your pod resistance
- Ignoring the signs of a burnt coil
Why Buy Replacement Pods from The E-Cig Store?
When shopping for replacement vape pods, choosing a trusted UK retailer makes all the difference. Benefits include a huge range of compatible replacement pods, genuine products from leading vape brands, competitive UK pricing, fast UK delivery, expert customer support and new products added regularly. Whether you're using a refillable pod kit or a prefilled pod device, you'll find the right replacement pod for your vape.
Frequently Asked Questions
How often should I replace my vape pod?
Most vape replacement pods last between one and three weeks, depending on usage, e-liquid and vaping style. Replace them sooner if you notice burnt flavour or reduced vapour.
Can I reuse a burnt vape pod?
No. Once a pod tastes burnt, the coil has reached the end of its lifespan and should be replaced.
Why does my new pod taste burnt?
This usually happens because the pod wasn't primed properly before use, or because it was vaped immediately after filling.
Can I change my vape pod while e-liquid is still inside?
Yes, although many users prefer to finish the remaining e-liquid first to reduce waste.
Do all replacement pods fit every vape?
No. Replacement pods are designed for specific devices. Always check compatibility before purchasing.
Final Thoughts
Changing a vape replacement pod is quick, simple and one of the most important parts of maintaining your vape device. Replacing your pod at the right time helps you enjoy better flavour, smoother vapour and a more reliable vaping experience. Whether you're new to pod kits or upgrading from disposable vapes, using the correct replacement pod will keep your device performing at its best.
Ready for a Fresh Vape?
Explore the full range of replacement vape pods and find the perfect match for your device — genuine products, competitive prices and fast UK delivery.
Shop Replacement Pods → Shop Pod Kits →


